 |
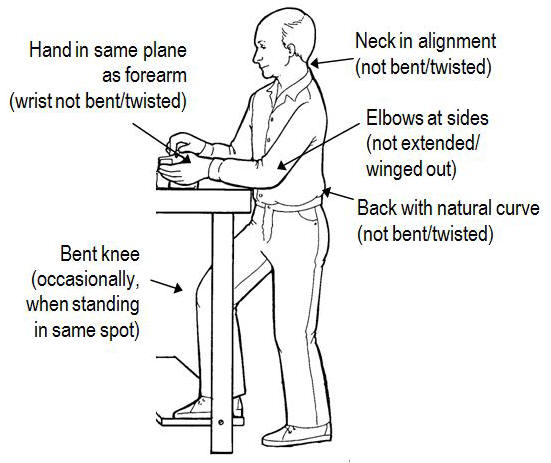 |
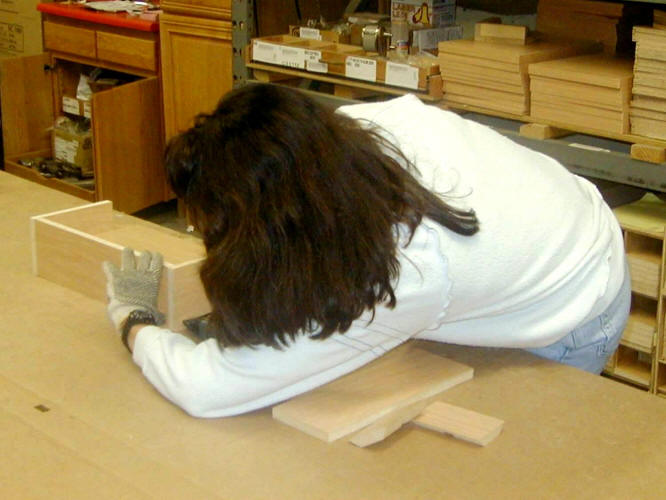
| Every joint bent and twisted | Optimal working position (standing) |
Optimal working position is a critical factor for achieving both work efficiency and human well-being. These positions are intuitive for the most part. However, they are routinely compromised both on and off the job. Armed with the simple rules described below, it is possible to make an excellent basic evaluation of a workplace or, indeed, any human activity.
Production issues
From a production standpoint, awkward postures reduce both strength and dexterity, which translates into reduced ability to perform tasks quickly and accurately.
Everyone has experienced this negative effect. Think of a time when you have had to do either a heavy task or an intricate one, e.g., opening a stuck jar lid or threading a needle. If you have to hold your arms away from your body, it can be difficult. In contrast, it is easier with your elbows by your sides.
Awkward postures create fatigue and can quickly interfere with the ability to do a job. Again, you can undoubtedly think of many occasions when you yourself have had to stop work because of fatigue and related discomfort and pain.
Employee well-being
Working in an awkward position creates strain on the joints and surrounding tissue. Consequently, poor working position is a major risk factor for problems like back injuries or shoulder and wrist disorders. The fatigue caused by awkward working position in and of itself affects well-being.
Because working position is so fundamental, see these studies and background explanation [future].
Strategies for improvement
Maintain S-Curve of spine
Keep neck aligned
Keep elbows at sides
Keep hand in same plane as forearm
Additional
Some complexities
More examples
Terminology: the “neutral” posture
Maintain “S-Curve” of spine
 |
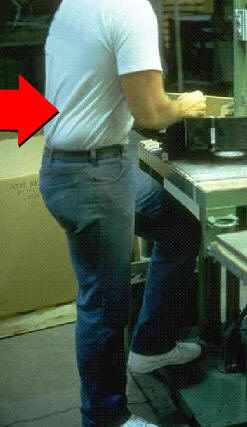 |
| S-shaped spinal column | Standing, with footrest |
Your spinal column is shaped more or less like an “S.” It is important to maintain this S-curve of the back, whether sitting or standing. The most important part of this “S” is the arch in the lower back. See a few complexities below, plus Workstations: seating, sit/stand, footrests, and heights.
 |
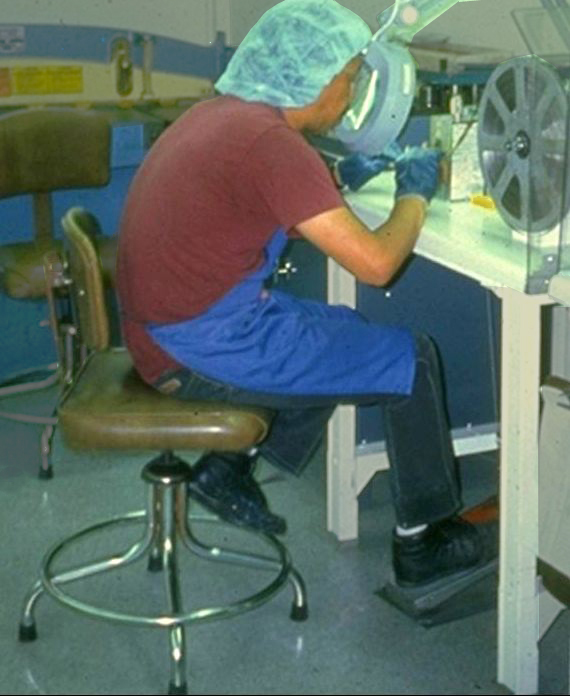 |
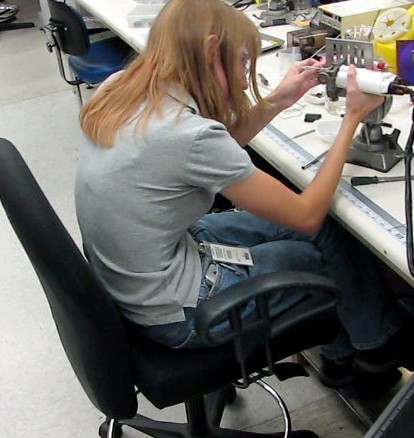
| Two examples of C-Curve | |
Working for long periods with your back in a “C-curve” can place strain on your back. In essence, the critical arch in the lower back is bent the wrong way.
In both photos above part of the problem is that the employees need to support their forearms in order to steady their hands, but the only available support is too low. So in this case, better arm supports and/or other workstation changes (such as fixtures or slanted surfaces) would help.
Good lumbar support is helpful to maintain the proper curve in the small of your back, as well as proper seating in general.
 |
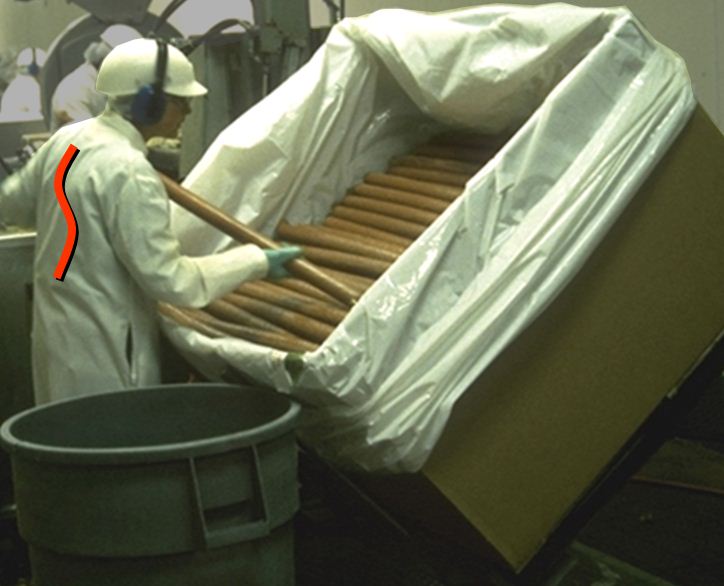 |
| V-Curve (with heavy load) | S-Curve and tilter |
The “Inverted V-curve” creates an even greater strain on your back. Even without lifting a load, bending over like this creates a great deal of pressure on the spine.
One common improvement is to use a lift or tilter. Depending upon the situation, there may be many other ways of making improvements. See Material Handling: dumpers, manipulator arms, carts, large containers, and hoists.
Keep neck aligned
 |
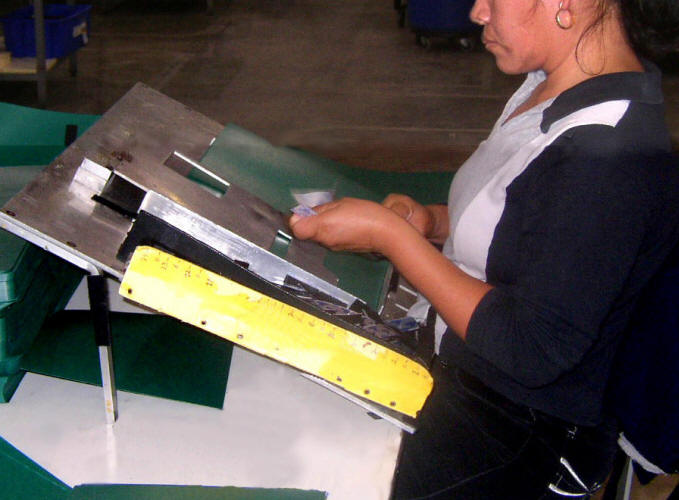 |
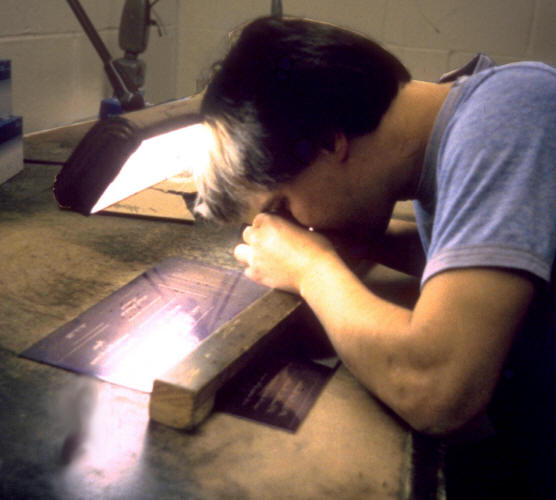
| Severely bent neck (engraver) | Good: Slanted bench-top stand |
The neck (cervical) bones are part of the spinal column and thus are subject to the same requirements of maintaining the S-curve. Prolonged twisted and bent postures of the neck can be as stressful as its equivalent for the lower back.
The best way to make changes is usually to adjust equipment so that your neck is in its neutral posture. See Workstations: slanted tops, fixtures, heights
Keeps elbows at sides
 |
 |
| Poor: Elbows raised (work is too high) | Good: Elbows at sides (work is at good height) |
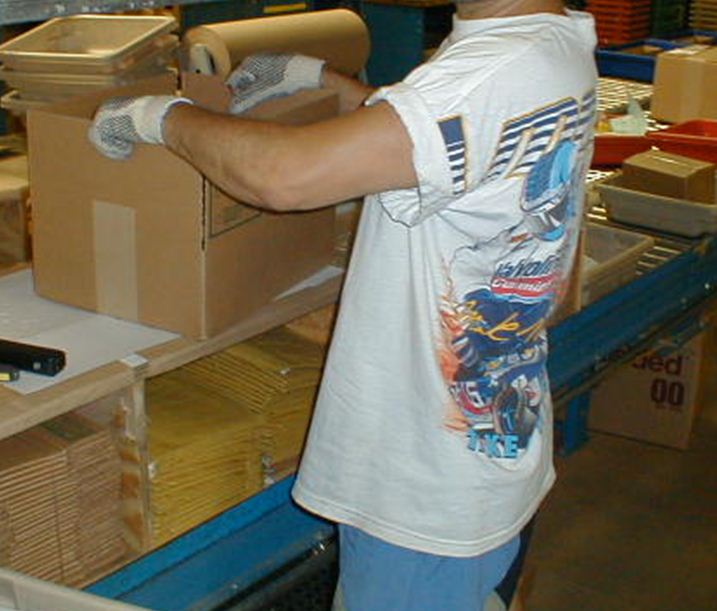
The neutral posture for your arms is to keep your elbows at your sides and your shoulders relaxed. This is pretty obvious once you think about it, but we don’t always do it.
The photos show two packing stations. At left, the elbows are raised away from the body because the box and work surface are too high. At right, the elbows are hanging naturally at the sides because the work surface is sufficiently low and the boxes are tilted. See Workstations: heights andfixtures.
Keep hand in same plane as forearm
 |
 |
| Bent | Hand in same plane as forearm |
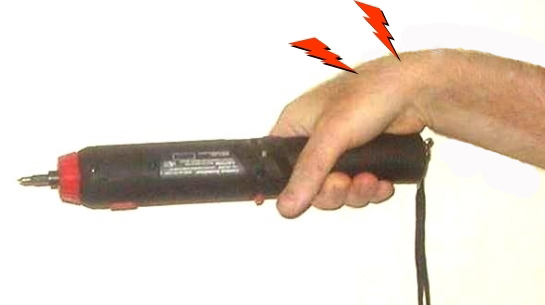
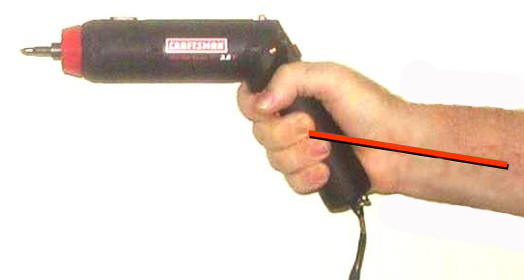
The easiest way to understand the neutral wrist posture is to keep the hand in the same plane as the forearm. The example above shows how a pistol grip screwdriver eliminates the bent wrist posture.
A few complexities
Additional particulars should also be taken into account:
Back: semi-crouch
 |
 |
| Angle at about 120° standing and sitting | |
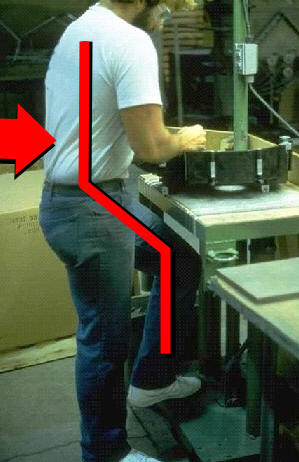
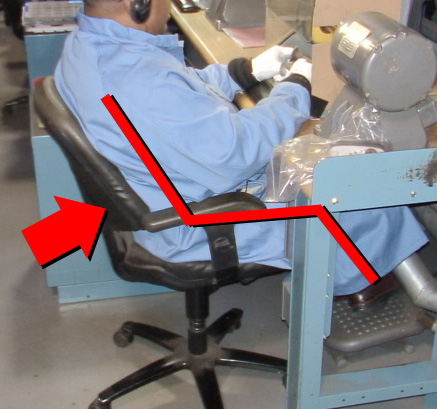
The neutral posture of the back when standing is NOT straight upright like a soldier at attention. Nor is it at right angles when sitting, which is a common misperception. Rather it is more like a semi-crouch, or roughly 120° for the hip and knee. See these studies for the evidence. [future]
The photos above show this semi-crouch. When standing, putting one foot up on a footrest helps. When sitting, you can achieve this position by leaning back or tilting the seat pan forward.
Wrist: slightly forward and inward
 |
| Wrist position |
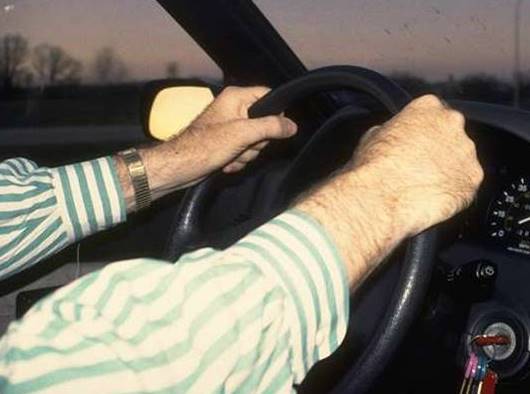
Similarly, the ideal wrist posture is NOT at perfectly parallel or perpendicular to the body. It is somewhat in between, like the position your hands are in when you hold the steering wheel of your car at the 10 and 2 o’clock position — slightly in and slightly forward.
 |
 |
| Dangling arms | Slingshot |
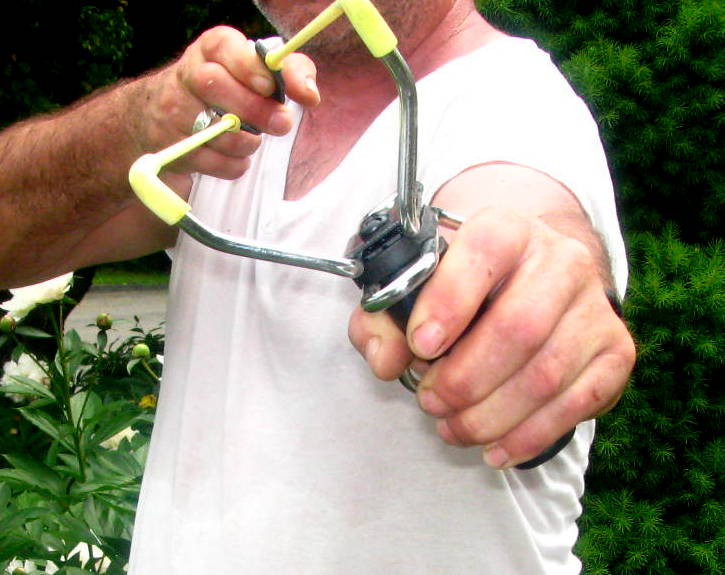
You can test this position for yourself in a couple of ways. The easiest is to simply stand and dangle your arms loosely at your sides. You hands will tend to fall in this angled position, not at a right angle.
An even better test involves using a high-powered slingshot. When you pull back and place a load on the wrist, it will naturally take this strong, slanted orientation. You can try rotating your arm in either direction to further experiment with positions.
See Workstations: Fixtures and Hand tools: Grips.
More examples
 |
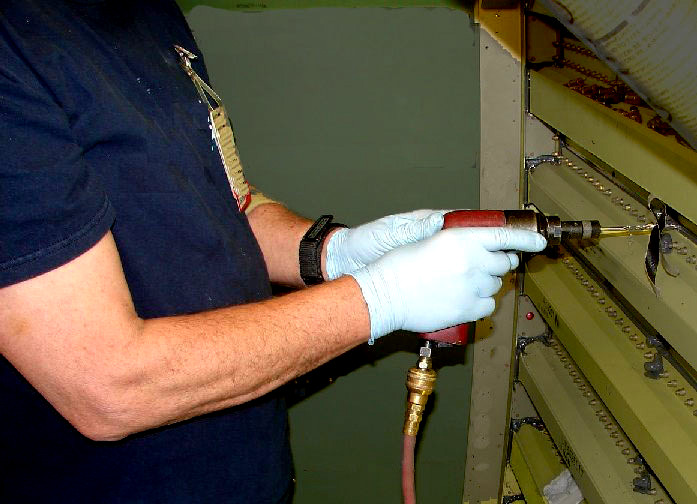 |
| Poor: Elbows high, wrist bent | Good: Elbows at sides, wrists aligned |
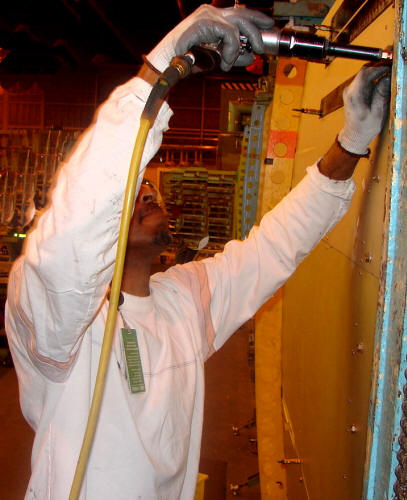
Above left, the elbows are away from the body and the wrist holding the tool is bent. Probably the easiest improvement here would be to use a step platform, which would help both the elbow and wrist. At right, the elbows and wrists are in good position.
 |
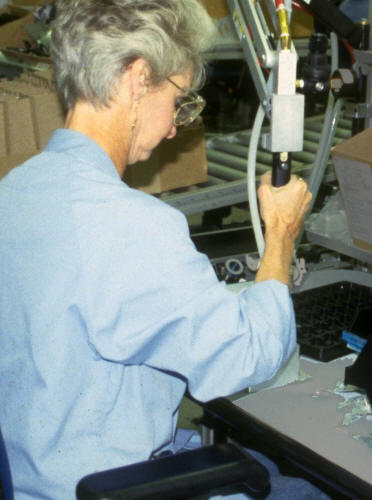 |
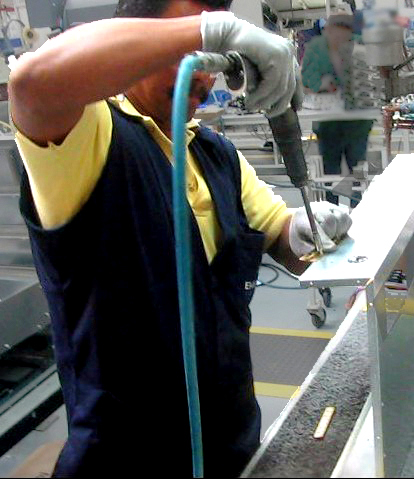
| Poor: Elbow high, wrist bent | Good: Elbow at side, wrist aligned |
Once again, the photo above left shows the elbow extend and wrist is bent. In this case, there are two common options:
- Reorient the product 90° and continue to use the same pistol grip tool (especially if a medium-to-heavy push).
- Use an inline tool, as shown in the photo above right.
Terminology — Neutral posture
The optimal position is often referred to as the “neutral” posture, since that is the position in which the muscles surrounding a joint are equally balanced. Note that these postures are NOT at right angles, even though tools and equipment are generally built that way.
Measurements and guidelines
